Buying vegetable starts costs $4–6 a plant. A packet of 50 seeds costs $3. The thing standing between those two numbers is a warm, bright, consistent environment for three weeks - and consistency is exactly what cheap automation is good at. This station runs itself on two timers; your only jobs are sowing and watering twice a week.
Step 1: Assemble the rack
Build the wire shelving per its instructions, spacing shelves about 12–14 inches apart - enough for a tray, a dome, and a light above. Put it near an outlet, away from drafty exterior doors. A spare-room corner or garage that stays above 60°F both work.
Step 2: Hang the lights
Suspend the shop lights under a shelf using the chain and S-hooks (or zip ties) so they hang 2–3 inches above the trays. That sounds absurdly close - it’s correct. Distance is the #1 cause of the leggy, flopping seedlings people blame on themselves. The chain lets you raise the lights as plants grow.
Step 3: Automate light and heat
Plug the lights into one timer set to 14–16 hours on (e.g., 6am–9pm). Plug the heat mat into the thermostat, set it to 75–80°F, and bury the probe in one cell’s soil. Peppers and tomatoes germinate days faster on warm soil; the thermostat keeps the mat from overshooting on a warm afternoon. That’s the whole automation layer - two plugs.
Step 4: Sow the trays
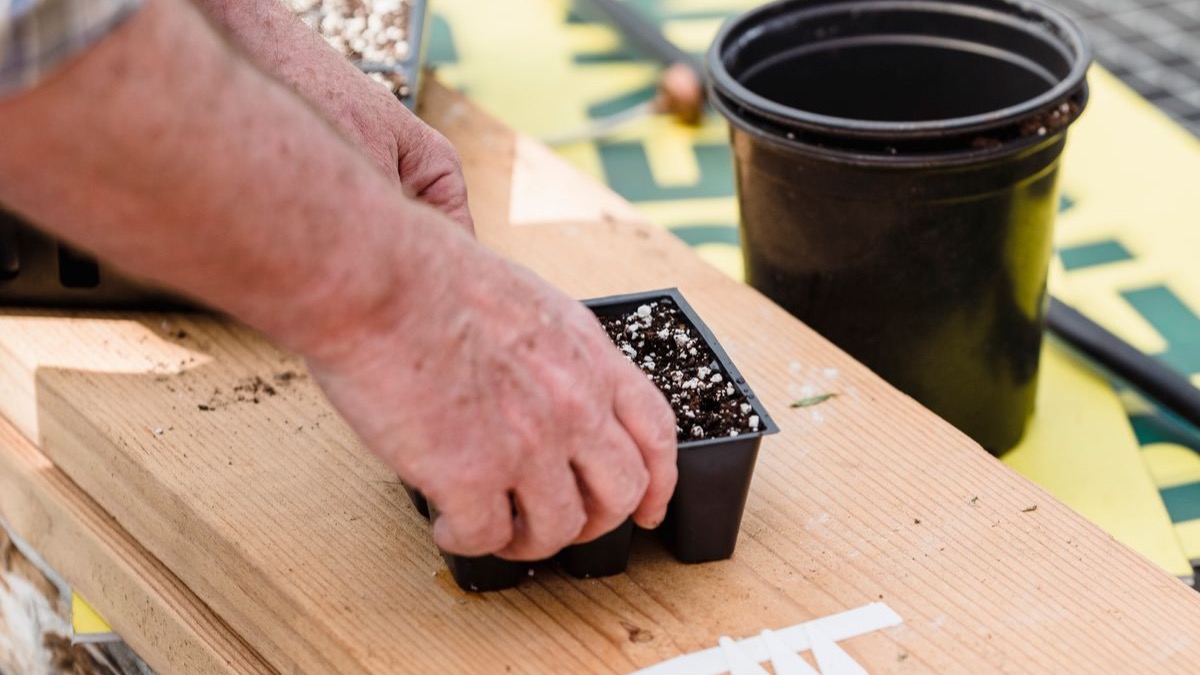
Fill cell inserts with pre-moistened seed-starting mix, sow at the depth on the seed packet (rule of thumb: twice the seed’s width), and label every row - you will not remember. Set inserts into the solid 1020 trays, cover with humidity domes, and put the tray on the heat mat.
Step 5: The two-check routine
Once in the morning, once in the evening, thirty seconds each: look for sprouts, and check the soil isn’t drying. Water from the bottom by pouring into the 1020 tray and letting cells wick it up - top-watering knocks over seedlings and invites damping-off fungus. The moment sprouts appear, pull the dome and take that variety off the heat mat; from here light matters more than warmth.
Step 6: Raise the lights, run a fan
Keep lights 2–3 inches above the canopy as it grows. If you have a small fan, give the shelf a light breeze a few hours a day (a third timer if you’re feeling fancy) - moving air grows thicker stems and prevents mold.
Step 7: Harden off and plant out
A week before transplanting, start taking trays outside: an hour of shade the first day, a bit more sun each day after. Indoor seedlings that skip this step get scorched their first afternoon out. After 5–7 days they’re acclimated - plant them in the garden.
The math
One shelf runs ~80 cells per cycle, three cycles a spring. Even at a 75% success rate that’s ~180 plants a season for about $25 of electricity and supplies - versus $700+ at nursery prices. The station pays for itself before the first transplant, and next year it’s pure surplus. Surplus starts are also the classic neighborhood barter good: trade tomatoes for eggs.