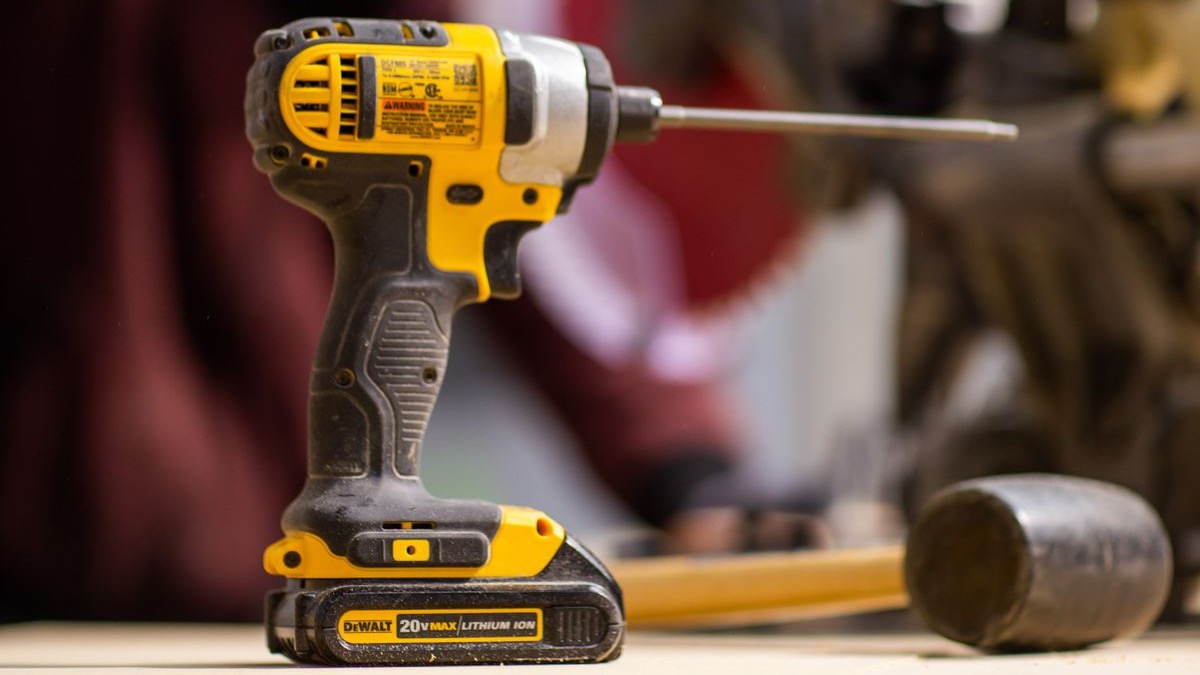
Tool companies have a business model: sell the drill near cost, then charge $60–90 for replacement packs until you give up and buy a new kit. Inside that dead pack is nothing exotic - a string of standard cells spot-welded together, and usually only one or two of them have actually failed. This guide rebuilds the whole string with fresh cells so you’re not chasing the next-weakest one in six months.
Read this first: this guide is for the older NiCd and NiMH packs - the heavy ones from drills made before roughly 2010, the kind sitting in millions of garages. If your pack says lithium or Li-ion on the label, skip to the honesty section at the bottom before you buy anything. And this should not be your first-ever soldering project; if it would be, build the skill on something that isn’t a battery, then come back. The pack will wait.
Step 1: Confirm the battery is actually the problem
Charge the pack overnight, then set your multimeter to DC volts and touch the probes to the pack’s terminals. A healthy 18V NiCd/NiMH pack reads 19–21V fresh off the charger; a dead one reads several volts low, and each missing ~1.2V is roughly one dead cell. If the pack reads full but the drill is weak, the pack may collapse under load - hold the trigger for two seconds and measure again. A pack that drops more than a couple of volts under load has failed cells even though it “charges fine.”
Step 2: Open the pack and photograph everything
Unscrew the case - many packs hide one screw under a label, and some use Torx security bits, which is not an accident. Inside you’ll find the cell string: 12 or 15 cylinder cells (sub-C size, a bit fatter than AA) connected by welded metal strips, snaking in a specific pattern. Photograph the layout from several angles before touching anything. The order and orientation of that string is the entire electrical design of the pack, and you’re about to take it apart.
Step 3: Count cells and order replacements
Count the cells and note their size (sub-C in almost every drill pack of this era). Order NiMH replacements with pre-welded tabs - NiMH is the drop-in modern upgrade for NiCd packs: more capacity, no memory effect, works with most original chargers of that era. The tabs matter because soldering directly onto a cell’s casing cooks the cell internally; factory-welded tabs let you solder tab-to-tab, quick joints well away from the cell body.
Step 4: Remove the old string, one careful note at a time
Lift the old cell string out of the case, keeping your layout photos handy. The pack’s terminal block (the part that mates with the drill and charger) connects to the string’s ends - note which strip goes where, and if there’s a small third wire to a thermistor (a temperature sensor the charger uses), photograph exactly where it sat. Peel or unsolder connections as needed. Tape over the terminals of every old cell as you remove it - old doesn’t mean empty, and a loose cell shorting against a metal strip in your junk drawer is how bench fires start.
Step 5: Rebuild the string, one joint at a time
Arrange the new cells to copy your photos exactly - same positions, same up/down orientations. Then solder tab to tab, working down the string: positive of one cell to negative of the next, every cell, no exceptions. Keep each joint under a few seconds of iron contact; the tab should get hot, not the cell. Tape the bundle snugly back into the pack’s shape as you go - the string needs to drop into the same plastic cavities it came out of. Before closing anything, measure the full string: 12 fresh NiMH cells should read around 16V, 15 cells around 20V (fresh cells sit above their 1.2V nominal). A low reading means one cell is backwards or one joint is cold - find it now, not after reassembly.
Step 6: Reconnect the terminal block and close it up
Solder the string’s ends to the terminal block exactly as photographed, reattach the thermistor against a cell’s side if your pack has one (tape holds it fine), and settle everything into the case. Nothing should rattle, no tab should be able to touch a neighbor it isn’t welded to - pad any doubtful spot with tape. Screw the case shut.
Step 7: First charge, supervised
Put the rebuilt pack on its charger and stay in the room - treat the first full charge like the test flight it is. The pack should get warm, not hot; a pack too hot to hold means something is wrong, so pull it off and recheck your work. NiMH cells wake up over their first few charge/discharge cycles, so expect run time to improve noticeably after cycles two and three.
Step 8: Recycle the old cells
The dead cells go to battery recycling, not the trash - NiCd cells in particular contain cadmium, genuinely nasty stuff in a landfill. In the US, most Home Depot, Lowe’s, and Batteries Plus stores take them free, or call2recycle.org lists drop-offs by ZIP code. You just kept a working tool out of the landfill; finish the job by keeping the cadmium out too.
The lithium honesty section
Lithium packs are a different animal, and you deserve the straight version: a li-ion pack contains a protection circuit board matched to its specific cells, and the cells themselves must be closely matched to each other. Substituting mismatched cells, or soldering on bare li-ion cells, isn’t advanced - it’s a fire risk that shows up weeks later, on the charger, at 2am. If your dead pack is lithium: quality aftermarket packs ($25–40) are the sane rebuild-adjacent option, a spot welder and cell-matching gear is the real-rebuild path (a deeper hobby than one afternoon), and the NiCd-era drill in the same garage is the better candidate for this guide.
What worked and what didn’t
The first rebuild that informed this guide had one cell soldered in backwards - the string read 2.4V low at the Step 5 checkpoint, which is exactly why that checkpoint exists. Found in two minutes with a multimeter, fixed in five. Second lesson: a 25W iron couldn’t heat the tabs fast enough, so joints took ten-plus seconds and one cell got uncomfortably warm. Borrowing a 60W iron made every joint a two-second job. Iron wattage is the difference between soldering the tab and slow-roasting the cell.
The math
A brand replacement pack for a 2008-era 18V drill runs $60–90 - often more than the drill is worth. This rebuild is $25–45 in cells and an afternoon, and NiMH replacements usually carry more capacity than the originals, so the drill runs longer per charge than it did new. Multiply by the two or three dead packs in the average garage, and the afternoon pays for a spot welder - which is how the deeper battery-rebuilding hobby recruits people.